
In this video, I start by showing you several places to find free Hebrew fonts for download, so you can easily access them for your projects. Then, I’ll walk you through the process of installing Hebrew fonts on your computer and installing a Hebrew keyboard, so you can type in Hebrew characters with ease. But that's not all! I’ll also address the common issue of Cricut typing Hebrew backward and show you how to fix it. Whether you're a beginner or an experienced Cricut user, this tutorial is perfect for anyone looking to add a touch of tradition and elegance to their designs with Hebrew fonts. So, grab your computer, and let's get started!
The quick walkthrough
- 1
Download a font
Choose a font from one of these three resources: https://hebrewfonts.net/ https://www.hebrewfont.net/ https://alefalefalef.co.il/en/resources/
- 2
Install the font on your computer
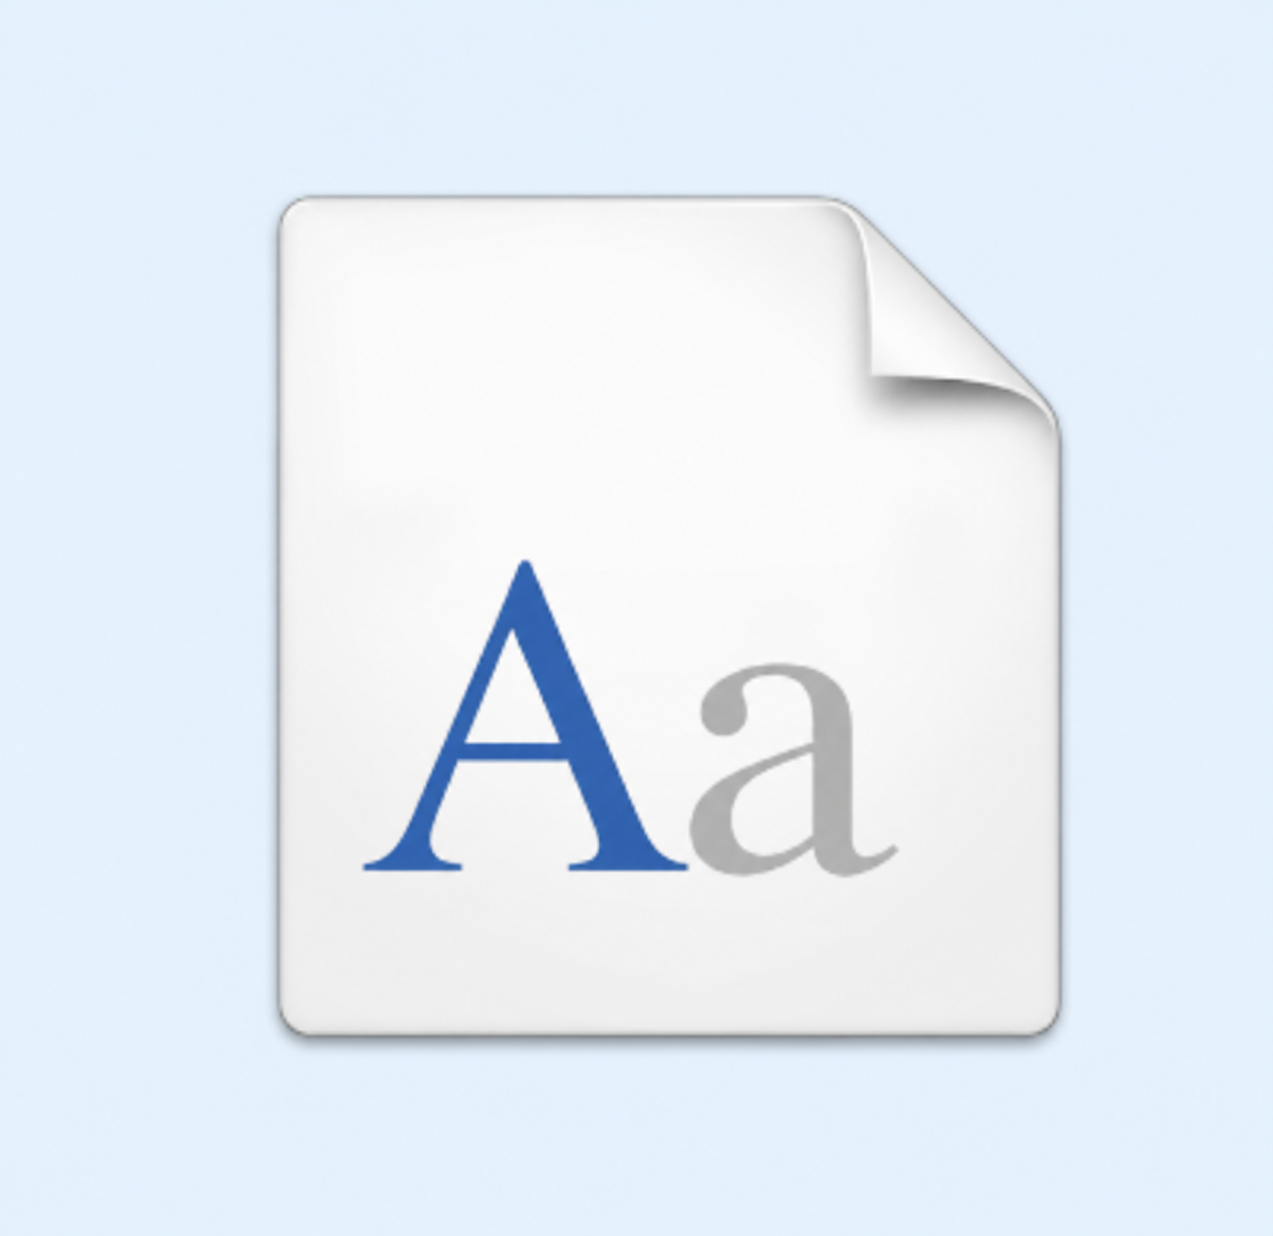
Open the downloaded font and click into each folder until you find a file that has a thumbnail of a white rectangle with an "A". Double-click on that and press "Install" at the top.
- 3
Find the font in Design Space
If Cricut Design Space was open when you installed your new font, you will not see it in the font list. Close and re-open Design Space and then your new font will show up under "System Fonts" when you search for it.
- 4
Using the Hebrew Keyboard
Go to language settings on your computer and install Hebrew. Use the keyboard shortcut Windows + Spacebar to type in Hebrew. If you're not familiar with the layout of the Hebrew keyboard, you can use the on-screen keyboard, which you can access using the keyboard shortcut Ctrl+Windows+O.
One little tip
Note that since this video was published, Cricut has fixed the backwards typing issue so the fix shown in this video is no longer necessary.